Lanefab's Construction Process
With over 20 years of experience managing construction projects of all sizes, and with deep experience in green building, prefab, and custom detailing, Lanefab’s build team is the right choice for your new home.
While many of our projects are Design+Build, if you’re an owner-builder, or if you have an architect/designer already on board, we can provide general contracting services.
Send us your plans or ideas to info@lanefab.com .
Curious about costs?
The Build Process:
1. Cost & Contract
2. Demolition, Excavation & Servicing
3. Foundations
4. Framing & Windows
5. Plumbing and Electrical Rough-In
6. Drywall
7. Millwork and Finishes
8. Completion Items
9. Post-Occupancy Checkup
1. Cost and Contract
After all of the design work has been completed, and building permits have been issued, we will put together a final cost for all of the work described in the 'contract documents' which include the drawings, the specifications, and the list of allowances.
'Allowances' are dollar amounts that are allocated to specific items within the total cost of the project (i.e. $8/sf for tile).
For new construction we'll typically put together a 'Fixed Cost' contract. For renovations we'll usually do a 'Cost Plus' contract, where the actual costs, plus a margin, are invoiced every two weeks.
We can generally start construction within 3 weeks of signing a contract.
2. Demolition, Excavation & Servicing
Hazmat:
If there is an existing house to be demolished, then we may need to start off with testing for hazardous materials, including asbestos. If hazardous materials are found, there will be costs incurred to remove the material before demolition starts.
Deconstruction:
Where possible we will opt for 'deconstruction' vs. 'demolition' so that building materials and fixtures can be reclaimed and re-used elsewhere.
Demolition:
This typically involves having an excavator smash the existing building, and then separating the metal, wood and concrete.
Excavation & Servicing:
'Servicing' means putting in the necessary underground services including sewer, water, gas and electrical. For the sewer work this often involves a large trench running through the property, along with large piles of dirt that will be used later for backfill.
The excavation will typically be deep enough to remove all of the organic top soil so that the building can sit on solid ground.
In some cases we'll encounter large boulders, oil tanks, or areas of boggy soil that will require extra time and cost to address.
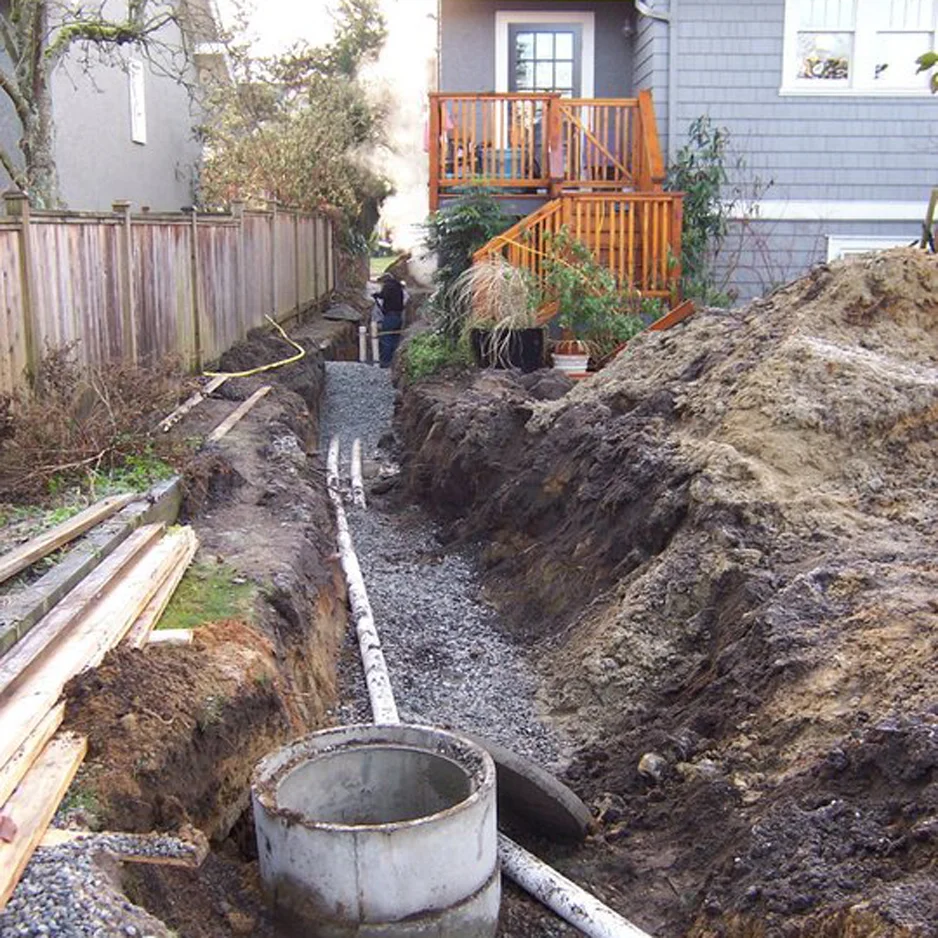
Separate sanitary and storm water sewer pipes connecting a laneway house to the city services in the front yard.
3. Foundations
Footings and Forms:
After excavating and putting down a layer of gravel, we'll use plywood to form up the concrete foundations.
Damp-proofing:
After the concrete has hardened, the forms are removed and we typically add a damp-proofing coating to the outside of the concrete, along with a drainage board which keeps water from building up against the concrete.
Drain Tile:
A perforated pipe is installed next to the bottom of the foundation walls. This 'drain tile' allows ground water to be collected and drained away so as to keep the foundation and basement dry.
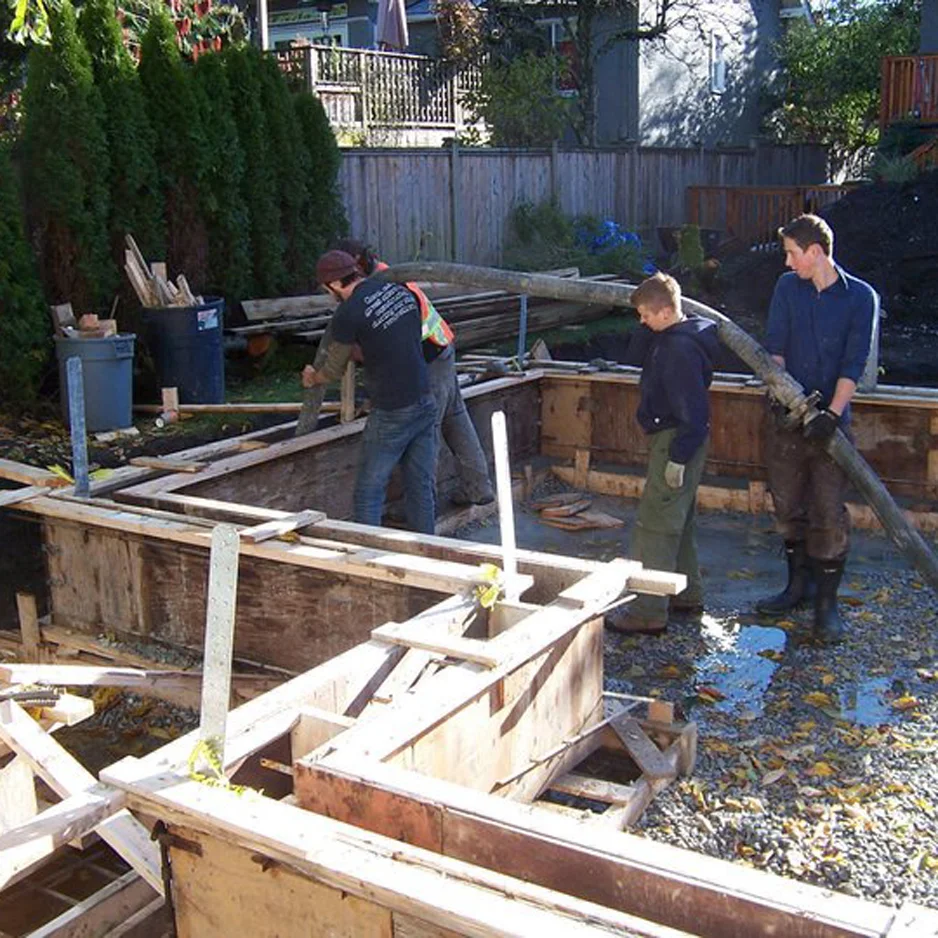
Foundation forms being filled with concrete.
4. Framing and Windows
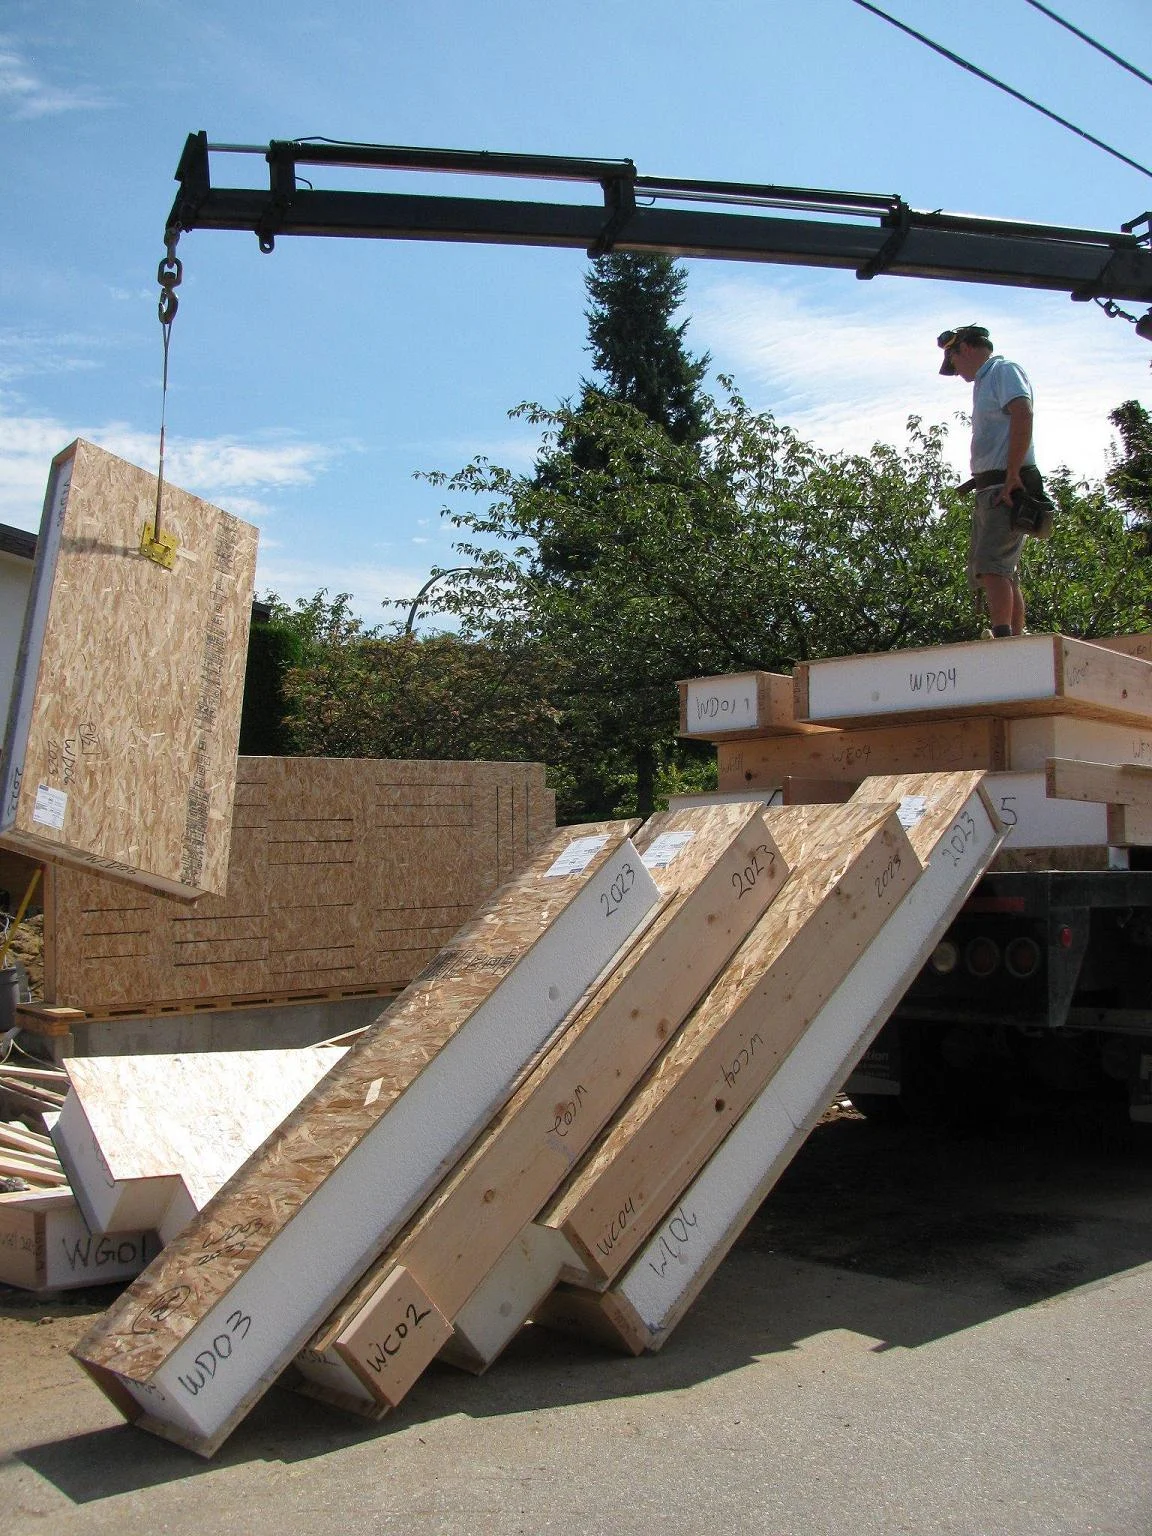
Prefab Panels:
On many of our projects we'll use prefab Structural Insulated Panels (SIPs) for the walls and roof. These panels are cut to shape off site, but are then delivered and installed on to the foundation. We'll often use timber framing (like the reclaimed beams shown here) in combination with the prefab panels.
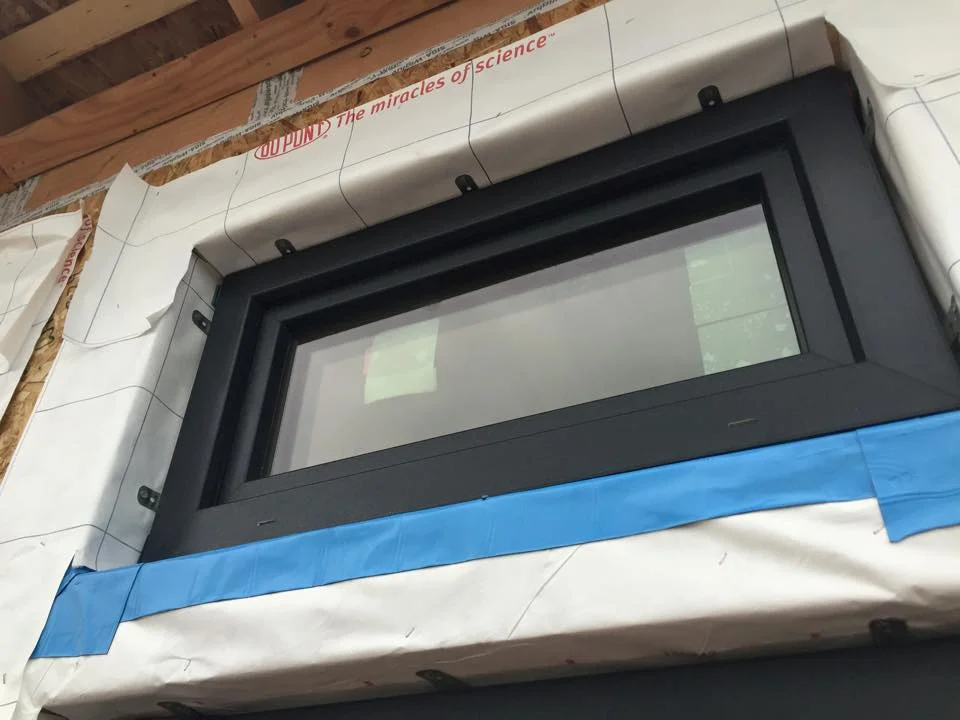
An in-swing 'tilt-n-turn' window by Euroline. Here it is centre mounted, with outward facing strap anchors.
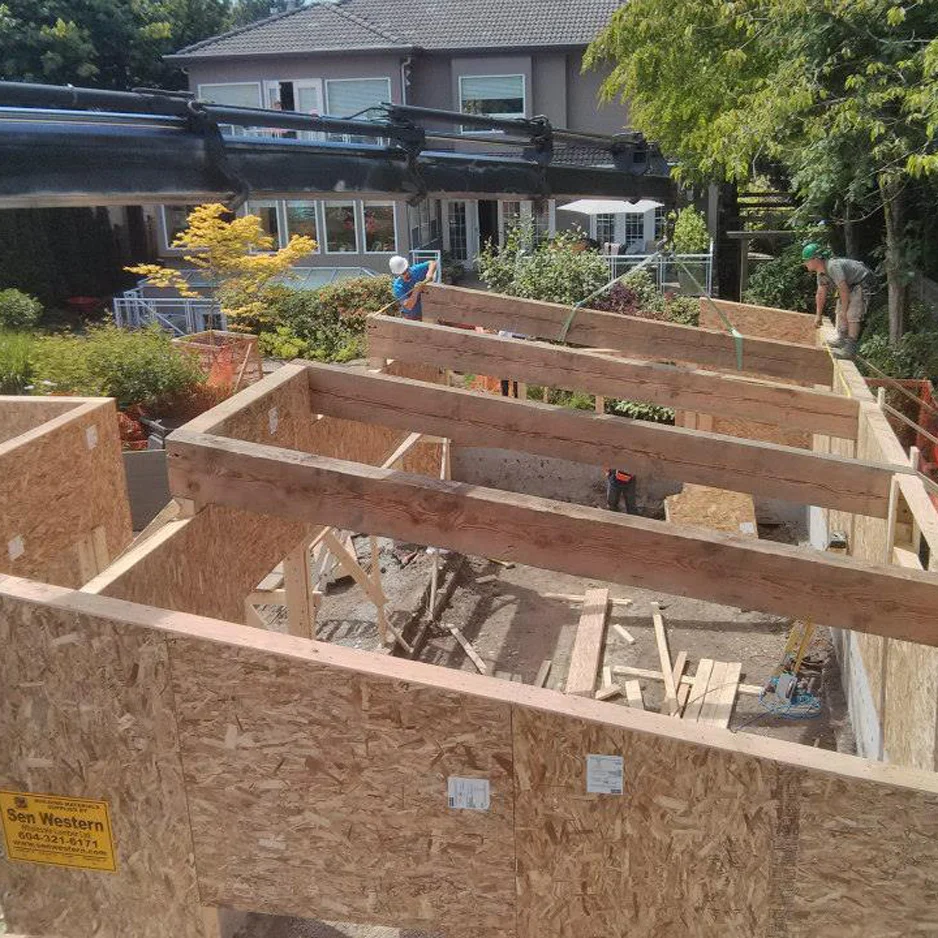
SIP wall panels supporting reclaimed timber beams.
Windows and Doors:
For most of our projects we use a 'centre mount' window detail where the window is mounted into the centre of the thick wall. This provides better energy performance, weather tightness, and a unique look.
5. Plumbing and Electrical Rough-In
Service Wall:
Most of our projects employ a double wall system where there is a structural outer wall, and a non-structural service wall on the inside that holds all of the plumbing, ductwork, and sprinkler piping.
Plumbing & Ventilation Rough-In:
At this point in the project we'll install the main drainage piping that runs under the floor and up the walls. We'll also run cold and hot water lines to each plumbing fixture in the house. In Vancouver, where fire sprinklering is required, we'll install all of the sprinkler piping at this stage.
Electrical Rough-In:
At this point we'll run wiring to all of the plugs, lights and switches in the house. We'll also run cables for TV, internet, security and automation.
Service Wall Insulation:
After all of the plumbing, ductwork and wires are installed we'll put an additional layer of insulation into the service wall. This might be batt insulation, mineral wool or spray foam.
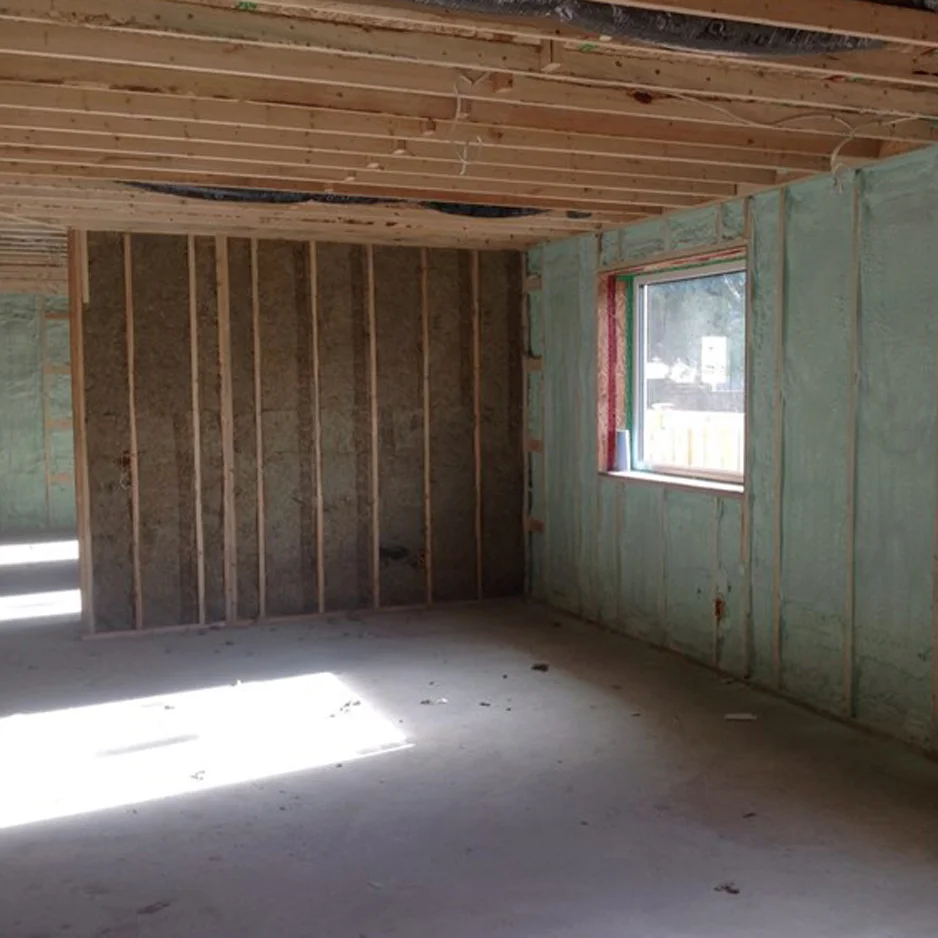
Service wall filled with 2lb spray foam at the Tsawassen passive house.
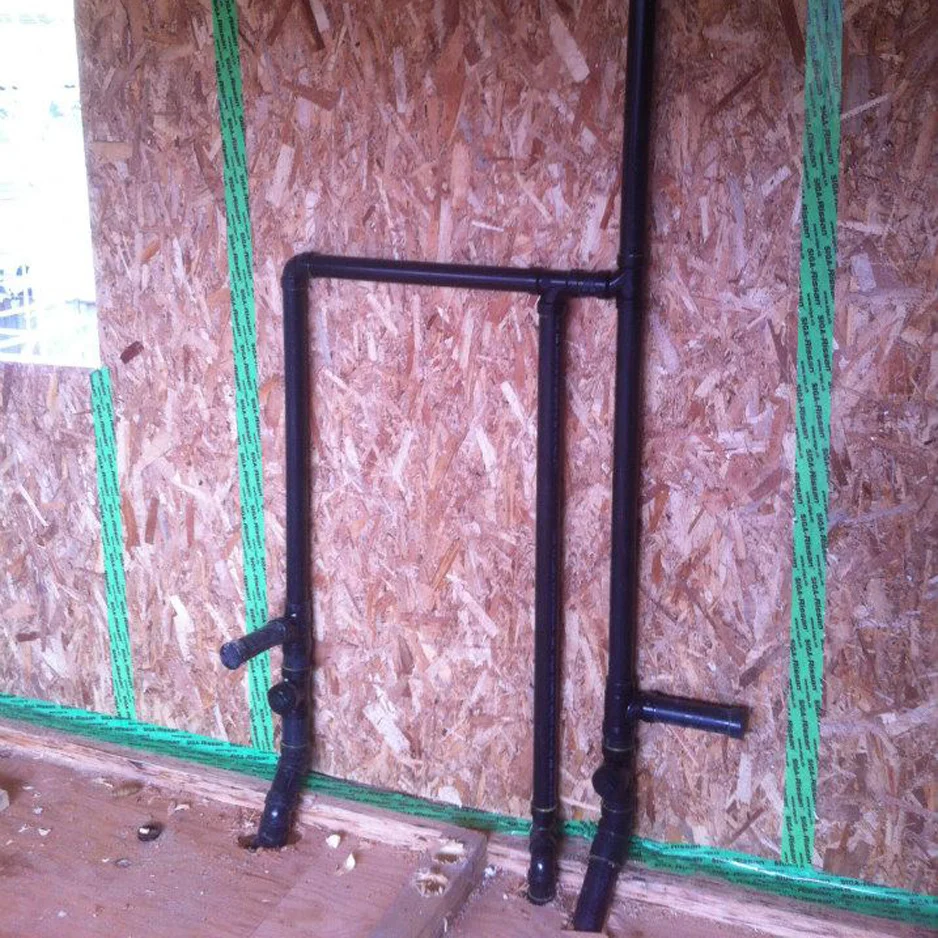
Drainage pipes for a bathroom. The inner 'service wall' will be framed around these pipes.
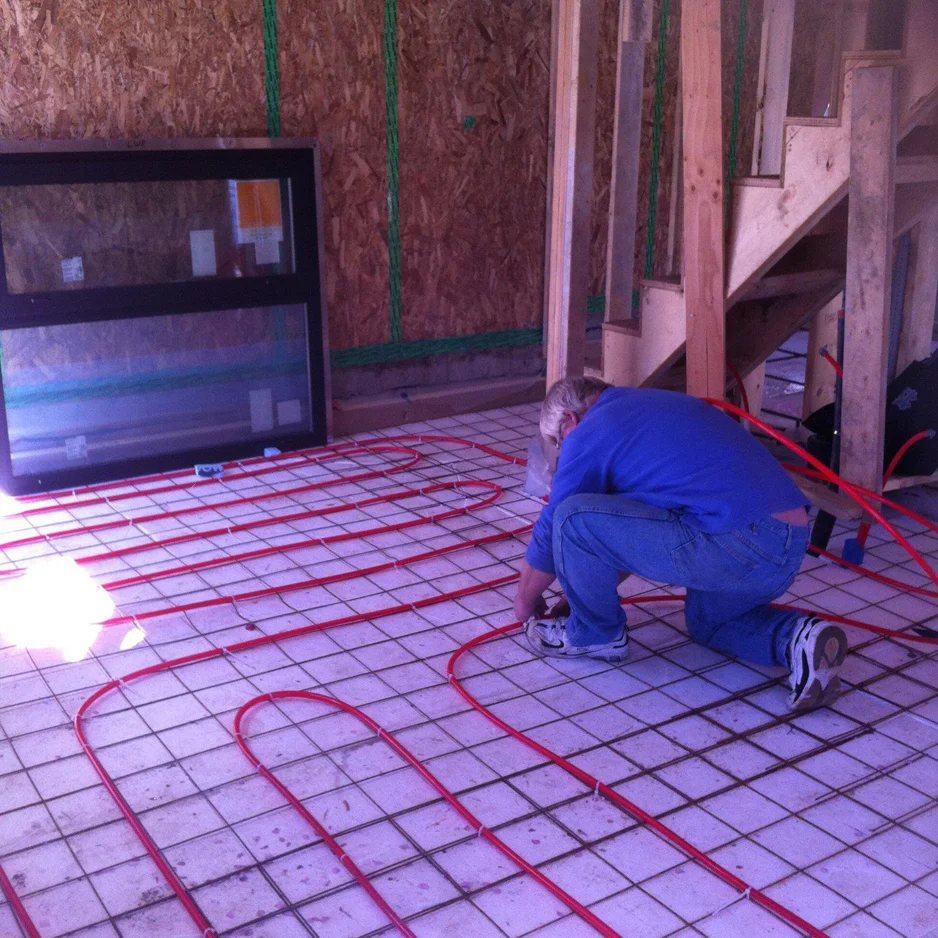
Installing radiant-floor heating pipes prior to the ground floor concrete slab being poured.
6. Drywall and Painting
Boarding:
The gypsum wall board (drywall) is installed in large sheets ~4'x8' or larger, and holes are cut for light fixtures and plugs.
Mudding:
After the house is boarded, a layer of drywall mud is applied to all of the joints and corners. After it dries, the mud can be sanded to a smooth finish making the joints invisible.
This process of mudding and sanding can take a full week due to the time required to dry out the mud in between passes.
Painting:
After the drywall is sanded smooth, the painters will apply a coat of primer and then several coats of the finish paint colour.
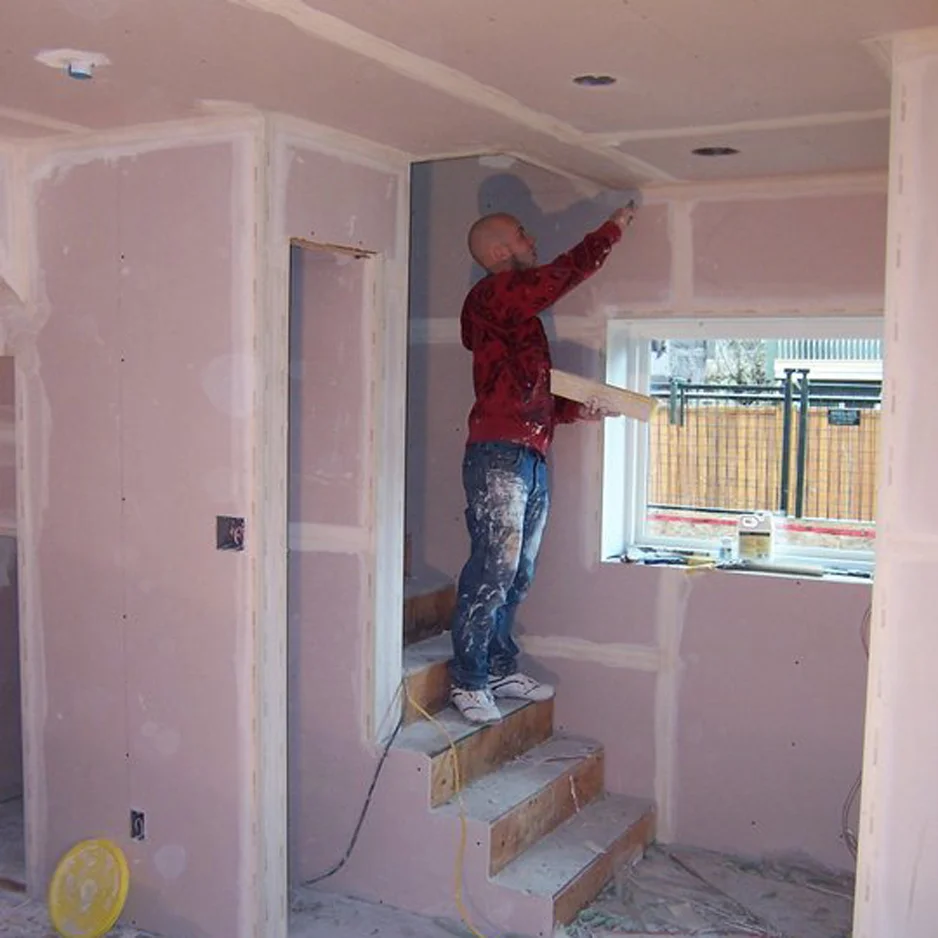
Mudding the joints at the 11th and Carnarvon lane house.
7. Millwork and Finishes
Exterior Finishes:
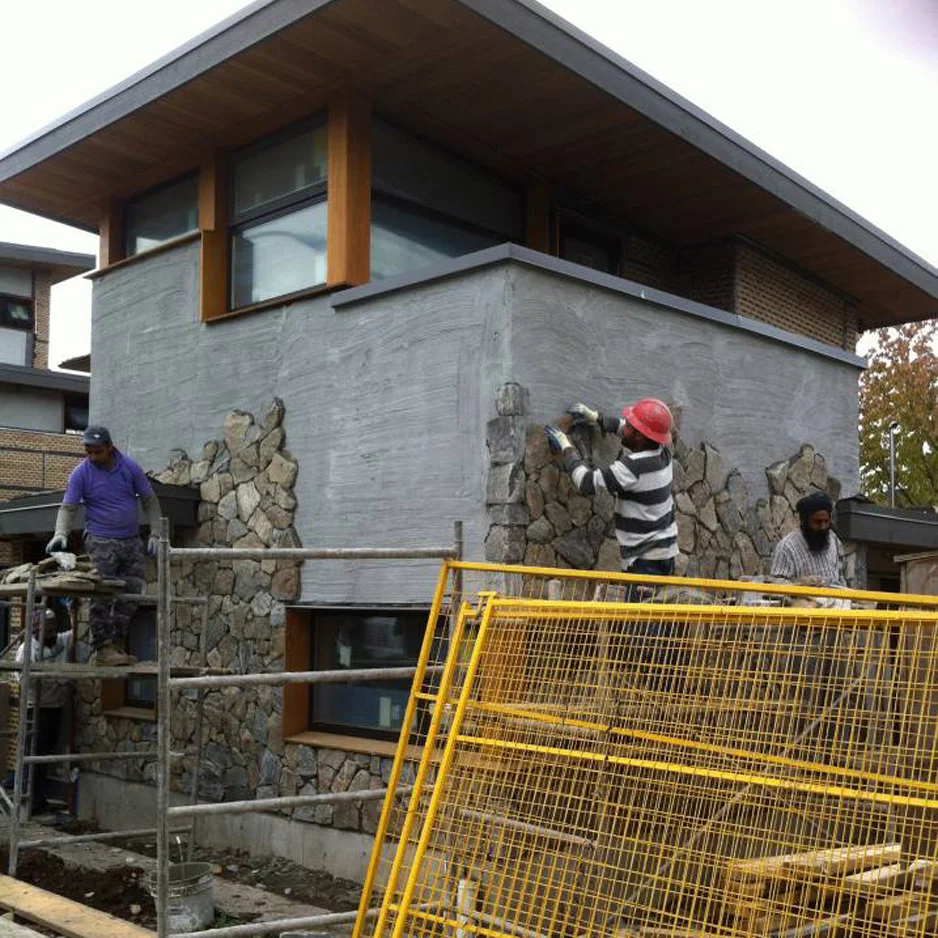
A thin veneer of real stone being applied to the exterior of a lane house.